As things would have it, I messed up my back at the end of April and couldn't really work on the trailer for almost a month. Kind of a setback since I wanted to complete the trailer for use this summer and it looks like I might get this thing finished up by mid July. Basically the only thing to complete the trailer at this point is getting the aluminum skin installed, trim attached, install the electrical service panel and install the trailer lights to be able to use it. It obviously won't be 100% complete, but usable.
I had picked up the 2 each, 4' x 10' aluminum sheets at St Paul Steel to cover the sides of the trailer before I screwed up my back and I finally got around to packaging it. I special ordered the 10 ft long pieces to cover the 9 ft length of my trailer. The sheeting I am using is 0.040 aluminum, mill finish. I paid $80 per sheet for the 4 x 10's when a 4 x 8 sheet normally runs $60. I hope to get this done without a ton of scratches; we shall see!
First I need to remove the hatch; again, as the hinge overhangs and is in the way of installing the rectangular sheet.
 |
| Hatch Hinge Needs to be Removed for Skinning |
 |
| 4 ft x 10 ft Aluminum Sheets - one for each side. |
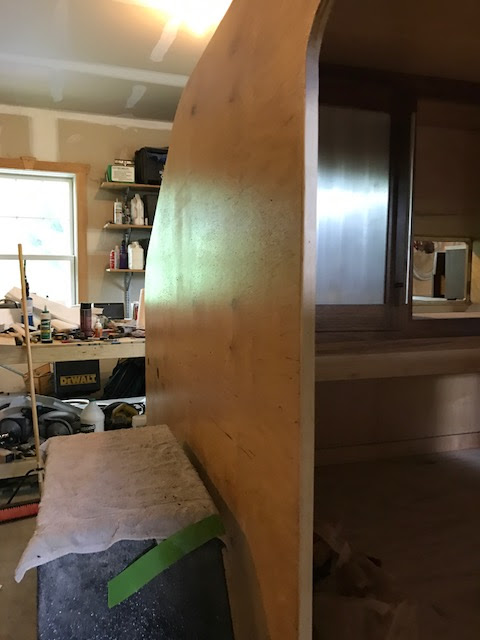
I clamped some support blocks to the frame so I have a ledge to set the sheet on before pressing the glued-up sheet to the exterior of the trailer. I made sure the block was exactly aligned with the bottom of plywood.
 |
| Support Block for Aluminum Sheet |
 |
| I used a shim off the back fender step for the rear support |
Having permanently welded fender on the trailer, I have approximately 1-1/2 inches clearance between the trailer and the fender to slide the aluminum sheet between. With both the trailer and aluminum coated with adhesive, contact between the two is immediate and permanent, so the sheet needs to be exactly positioned before the two surfaces touch.
 |
| Towel to Protect Aluminum Sheet from Scratches as the Sheet is slid down along the fender |
I looked at the 3M, 1300 neoprene adhesive, and outside of their outrageous price of $75 per quart, only a 10 minute open time and crappy customer service, I finally decided to use the Formica 145 product. Unless you are purchasing thousands of $$ of product from 3M for massive manufacturing applications, they don't want to talk to you. I spoke with a rep from Formica and he spent 20 minutes on the phone with me, knowing I was only doing a one-off project. He stated the product was a strong competitor of the 3M, 1300 and it had a 1 hour open time. Open-time is the duration you have to join the two surfaces together. Figuring I was rolling this product on a 4x10 sheet and the side of the trailer, I needed more than 10 minutes. In addition, the product only cost $35 per gallon. Key thing is to get a neoprene based adhesive so it can handle the differential in coefficient of expansion between wood and aluminum.
 |
| Formica Contact Adhesive and Adhesive Roller Cover |
 |
| Cement Rolled on Aluminum Sheet |
 |
| Adhesive on Trailer Side |
 |
| Adhesive on Trailer Side - View 2 |
 |
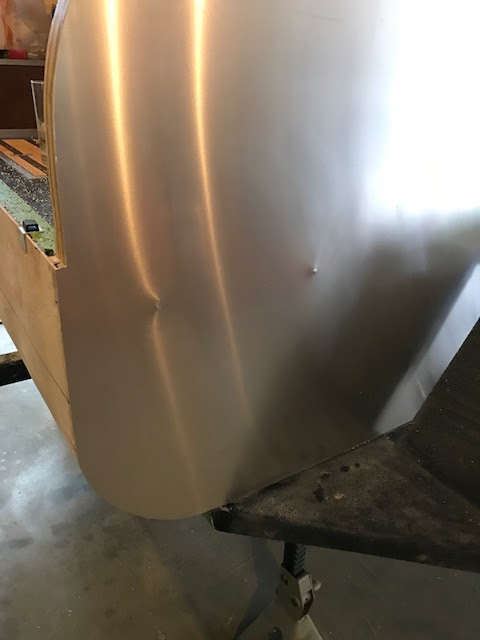
| Sheet Attached to Trailer |
 |
| Another View |
 |
| Routed Edge along Galley Hatch Area |
 |
| Routed Door Opening - Tape Holds Panel from Flopping Around |
 |
| Final Profile after Routing |
 |
| Another View |
 |
| Aluminum Shavings Everywhere |
I first started off with a flush cut router bit that was 1/4 or 3/8" diameter that I had used back when I built the Formica counter tops and I was having some trouble with the bit clogging up with melted aluminum. I had my router on the lowest RPM to avoid melting the sheet, but it didn't work very well. I purchased a new blade and got a larger diameter, 1/2" flush cut and it cut through the sheet like butter and no melting or clogging of the carbide bit. Not sure if the larger bit runs cooler of if my previous blade was just worn out.
 |
| New 1/2" Dia Flush Cut Router Bit |
Below is the reason I could not finish installing the sheathing on the trailer top. I purchased these lights on line not realizing the wiring and support mount are in the same hole. I could not finish the roof until I had the aluminum sheet on the side to finish wiring up and mounting the fixture.
 |
| Courtesy Light Install |
 |
| I didn't Realize how Small these Lights Really Are! |
 |
| Marked Location of Water Tank Fittings |
Dimpling the Aluminum with a punch from the inside marks the location for drilling the pilot and routing the hole.
 |
| Holes Routed for Water Fill and Vacuum Relief Cover |
 |
| Holes Complete |
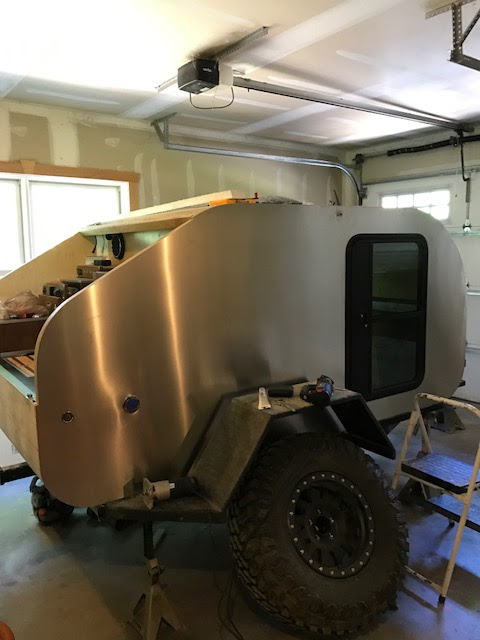 |
| Door Installed and Water Fitting Caps In-place |
I took some of the scraps from the door cutout and end of the 4x10 sheet and used those to start covering the battery box.
 |
| Battery Compartment Box |
 |
| Door Cutout to Cover Side |
 |
| Front End Cutoff to Cover Top of Box |
It only took a couple cutouts to realize the aluminum slivers get stuck between the base plate of the router and the aluminum you are cutting, so place tape on every surface you plan to run the router base on; it limits the scratches.


